Saturday, February 21, 2015

Chromakey Software

I just decided to write and post this quickly as I have been using Adobe Premeire for some Video projects and decided that the software was rather expensive for the basic framework of Green screentools. While Green Screen Software is fairly expensive it has nice features like the ability to pick color families, but here is an example that will work, modification will be necessary, I left it open so that you can add multiple colors or just one or add a range. Now this directly captures an image from a camera. I created a color called pink but it simply has a 0 for alpha so that it is transparent. Unless the lighting is excellent create a series of ors(||) until the coloring is perfect or simply make a loop to test all related colors. I left it open because it depends really on the application and what works best. Anywho:

import processing.video.*;
 
color pink = color(255, 102, 204,0);
color black= color(255,255,255);

Capture kam;
 
void  setup  () {
  size (320, 240);

  kam= new Capture(this, 320, 240, 30);
  kam.start();
}
 
void  draw  () {
  background (255);// make this an image
 
   
  if (kam.available ()) {
    kam.read ();
  }
 
  for (int i=0; i < width; i++) {
    for (int j=0; j < height; j++) {
     
      // Read the color value for each pixel from
      color  k = kam. get  (i, j);
       
      stroke (k);
       point (i, j);
      if (k==black) { // list as many colors as you need
   stroke (pink);
       point (i, j);
      }
    }
  }
}

Now it can open from a file, just convert the video to a series of images. I demonstrated how to do this earlier in the Rotoscoping tools post. And then load these images in. This whole thing can be expanded with file menus and the like.

Cosmic Ray Telescope


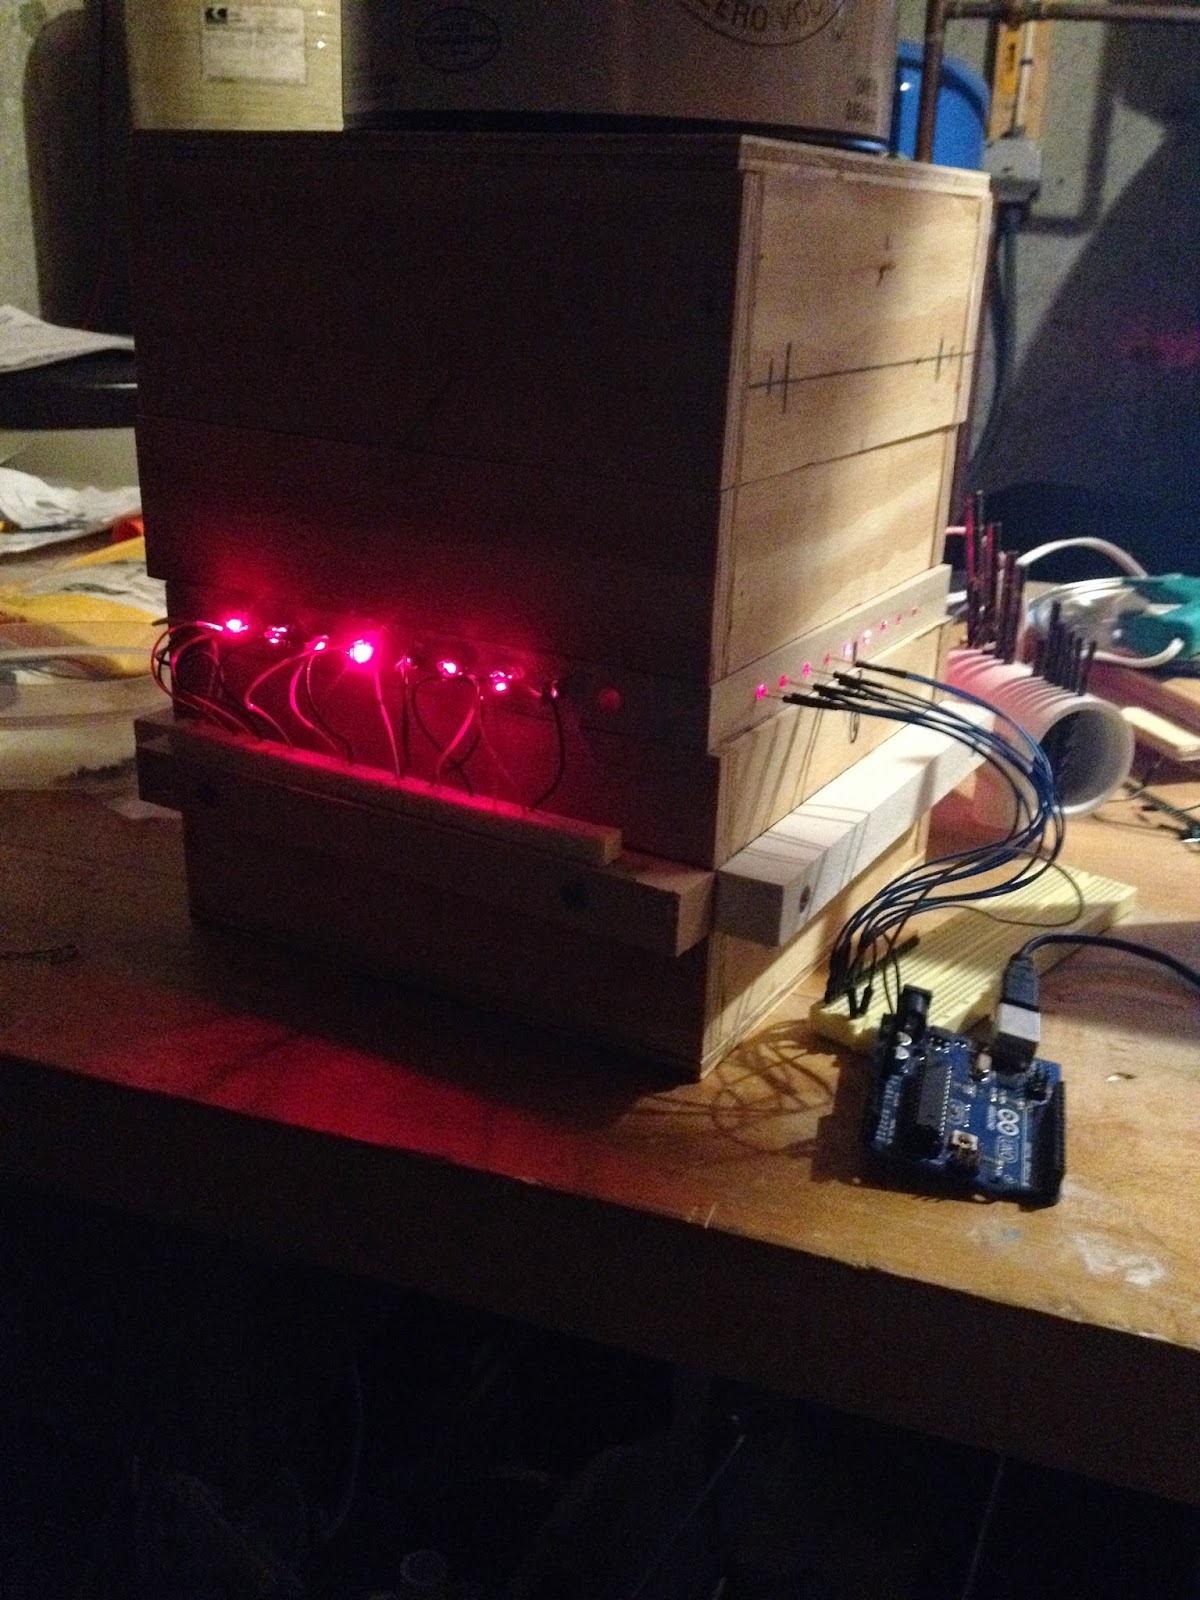
The telescope M1 is well on its way to completion now that the lead sheilding has finally arrived. Here is the first real data from the sensors, the thermal and static noise from the environment has not yet been eliminated this will be done when the cooling system is finished:
114
0
0
0
0
0
0
0
0
0
0
0
0
0
0
0
0
0
0
0
0
0
0
0
299
968
0
0
293
971
0
0
291
972
0
0
284
976
0
0
277
979
0
0
264
983

Pictures of operation:


Code:
 import processing.serial.*;
 PrintWriter output;
 
 Serial myPort;        // The serial port
 int xPos = 1;         // horizontal position of the graph
 
 void setup () {
 // set the window size:
 size(800, 300);        
  output = createWriter("positions.txt"); 
 // List all the available serial ports
 println(Serial.list());

 myPort = new Serial(this, Serial.list()[0], 9600);
 // don't generate a serialEvent() unless you get a newline character:
 myPort.bufferUntil('\n');
 // set inital background:
 background(0);
 }
 void draw () {
 }
 
void loop(){
 // get string:
 String inString = myPort.readStringUntil('\n');
 
 if (inString != null) {
 //  whitespace:
 inString = trim(inString);

 float inByte = float(inString); 
 inByte = map(inByte, 0, 1023, 0, height);
 
 
 // draw 
 stroke(127,34,255);
 line(xPos, height, xPos,( height - inByte));
 output.println(height-inByte);
 println(height-inByte);
 // at the edge of the screen, go back to the beginning:
 if (xPos &rt;= width) {
 xPos = 0;
 background(0); 
 } 
 else {
 // x++
 xPos++;
 }
 }
 }
 void keyPressed(){
   output.flush(); 
  output.close(); // homefree
   exit();
 }
 

//This is all Arduino now:


int sensorPin = A0;    
  
int sensorValue = 0;  // variable to store the value coming from the sensor


void setup() {
Serial.begin(9600);
}

void loop() {
  // read the value from the sensor:
  sensorValue = analogRead(sensorPin);    
  Serial.println((sensorValue));
}


A brief note: The Processing will be 32 bit as the Serial functions are in use. Going with processing because the goal is to distribute these sensors globally. Build list and software hookup instructions will be coming soon for those interested in working on the project.


The idea is to make a global map of the radiation experienced on Earth.

Wednesday, February 18, 2015

Cellular Automata Filling Algorithm

Filling Algorithm
Take this image of a cat, which is not totally filled.


Now we take the cat and use the life with out death algorithm. We first have an algorithm run which remembers the outline of the cat so that we can “cut the dough out” like a cookie cutter. And then we have a filler for monochromatic images. The algorithm we will use is the Conway Life Algorithm except we will take away the death numbers. Here is the filled cat:

Tuesday, February 17, 2015

LaTex with VD

I have been working on a few long papers/books and decided to add functionality to allow one to write in normal code and produce LaTex code. LaTex is often used for technical papers, and can be rendered in browser for formulas and such, which is useful as most of the equation editors provided with text editing packages is displayed as limited resolution images on the web.


The proxy language follows a format similar to the rest of VD. The code relies on simple RegEx substitutions. The JS version has also been updated.

Saturday, February 7, 2015

Cyclic laser metrology mechine


 1
 2
 3
 4
 5
 6
 7
 8
 9
10
11
12
13
14
15
16
17
18
19
20
21
22
23
24
25
26
27
28
29
30
31
32
33
34
35
36
37
38
39
40
41
42
43
44
45
46
47
48
49
50
51
52
53
54
55
56
57
58
59
int loop=1;
float x1=0;
float x2=0;
float y1=0;
float y2=0;


size(640, 360);
PrintWriter ouput;
PImage histoimg;
image(img, 0, 0);
int[] hist = new int[256];
ouput= createWriter("dvals.txt");
import processing.video.*;
Capture dacam;
PImage img;
import serial;
int x=0;

void setup() {
Serial.start(9600);
  img=(loadImage(a+".png"));
  size (640,480);
  dacam= new Capture(this, 320, 240, 30);
  dacam.start();
}
void draw() {
 if(dacam.available()) {
    dacam.read();
  }
  image(dacam, 0, 0);
 image(img, 0, 0);
  }
}
}
void loop() {
float r=0;
  println(one.length);
  println(two.length);
if(loop=1){
  if (mousePressed) {
   x1=mouseX
   y1=mouseY
   loop=2
  }
}
    
    if(loop=2){
  if (mousePressed) {
   x2=mouseX
   y2=mouseY
   x1=(((x2-x1)(x2-x1))+((y2-y1)(y2-y1))
    print(sqrt(x1))
   loop=1
  
}
}

}